

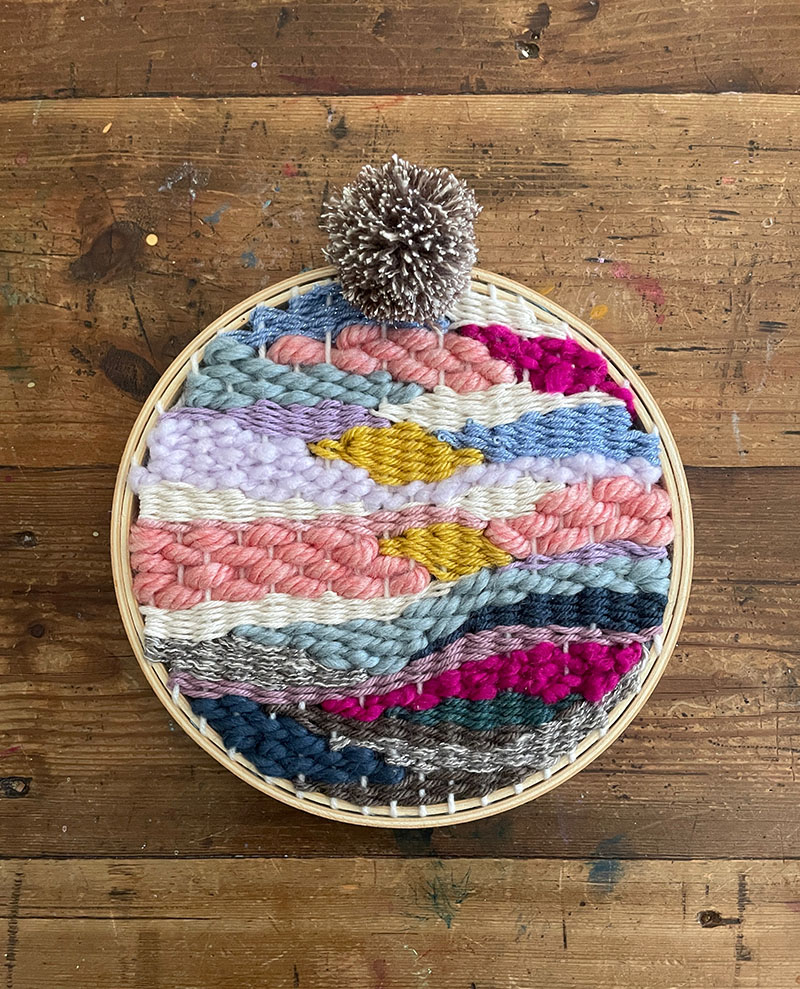
My mind is constantly seeking to in shape in time to weave. I am these kinds of a amateur, and never definitely have a model, but I adore enjoying all around with color and form. This time I tried using a round doodle weaving employing an embroidery hoop! I didn’t follow anybody’s directions, I just designed it up as I went along. I am confident there are superior techniques to do this, but I just applied tape, yarn, and a glue gun.
For additional in-depth directions, see my first doodle weaving here. I used the exact strategy.
And if you want to see a limited video clip, click below to watch my Instagram reel.
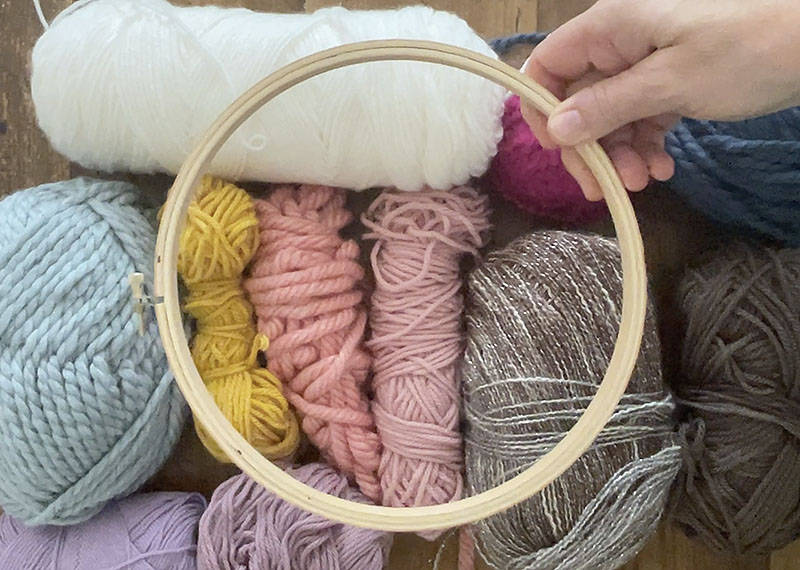
Supplies wanted for round doodle weaving:
~ Yarn in diverse colours and weights (you can go to a craft retail outlet or acquire on the internet – low cost yarn is just fine)
~ Wood embroidery hoop (I applied an 8-inch hoop)
~ Masking tape
~ Pom-pom maker (optional)

How to make a round doodle weaving:
1. Established up the warp (these are the vertical threads). I did this by cutting a entire bunch of threads and then taping them to the side of the hoop. I did not evaluate, just eye-balled. I also loosely taped the hanging threads up to the facet which is why it appears like there is so significantly tape.
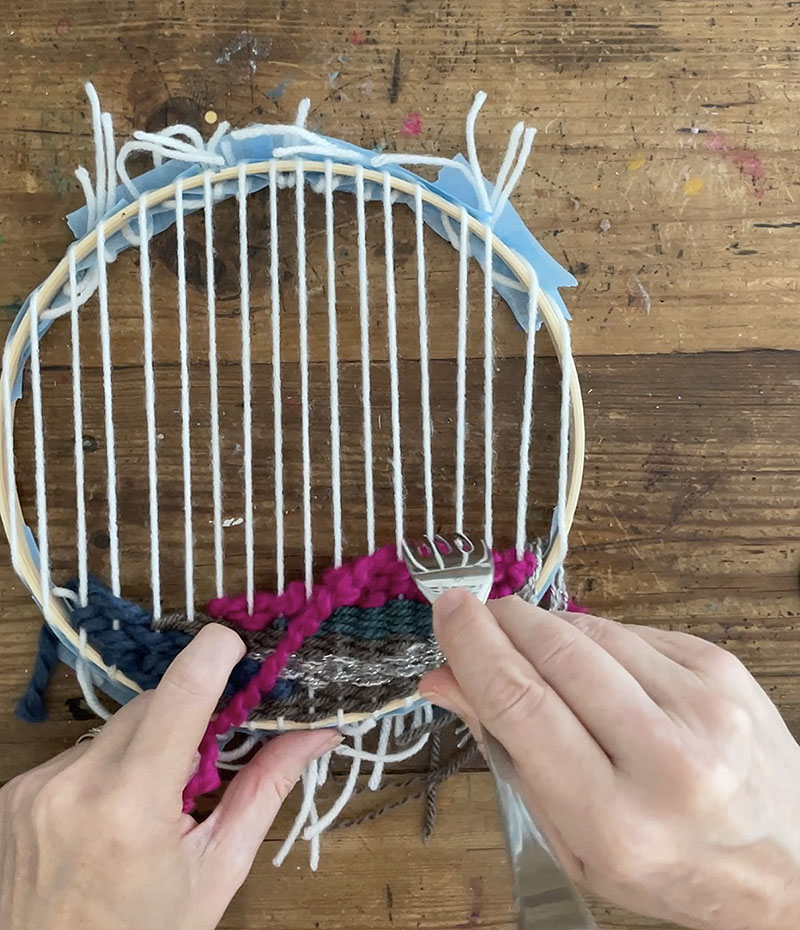
2. Start out weaving. Just about anything goes, in this article. Refer back to my 1st doodle weaving submit for far more specific directions. Just start out and end underneath. And use a fork to drive down the weft (individuals are the horizontal threads).
3. I use a “shoelace” approach when weaving whereby I wrap the end of the yarn with a piece of tape so that it is less difficult to weave with. This is simply because I cannot discover my plastic weaving needles. But it’s also since I just cannot see very well more than enough to thread the needle. This system operates definitely nicely for me. It is speedy and easy.
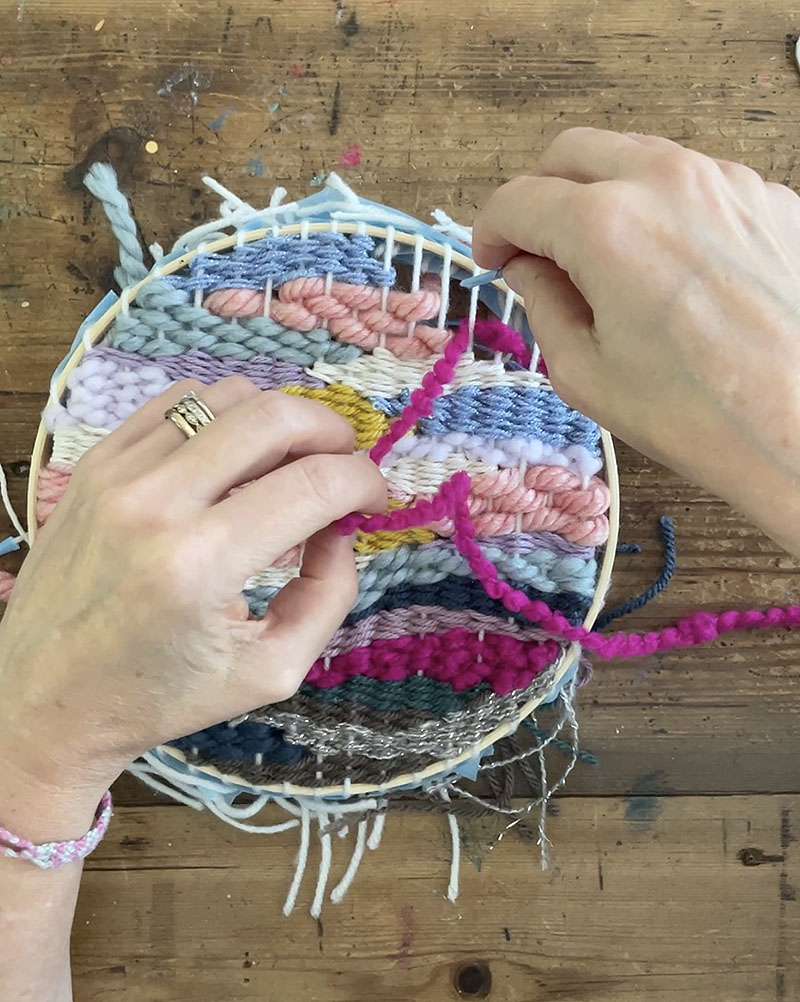
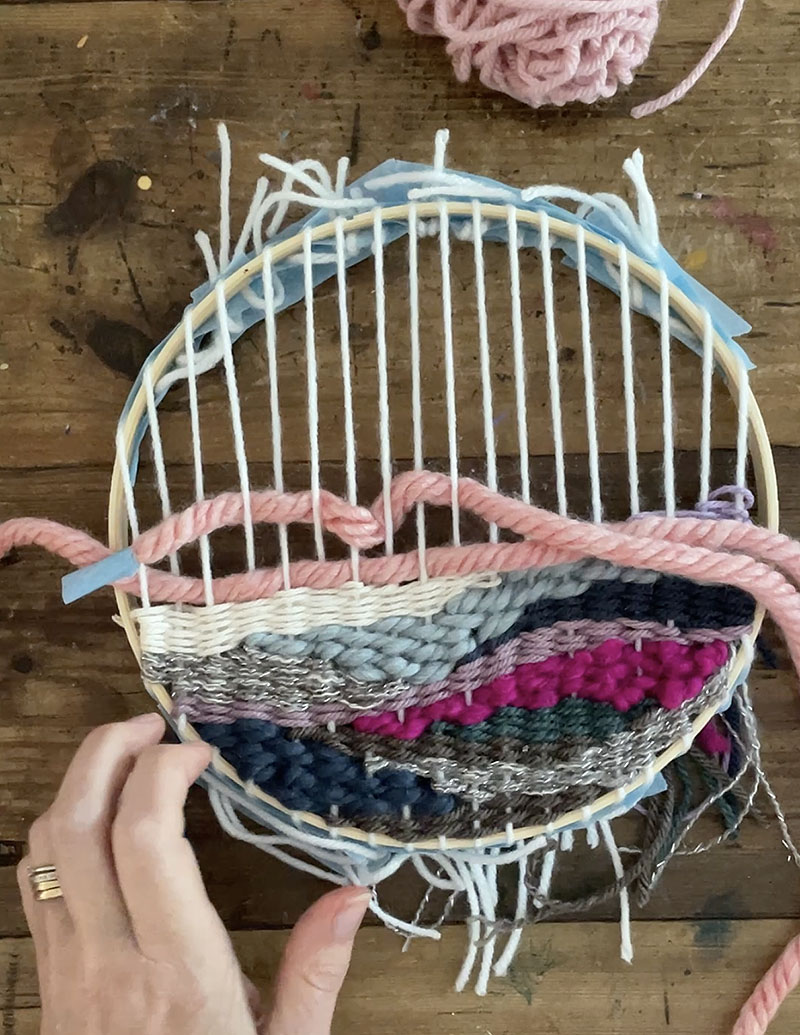
4. You really do not have to go from base to prime when doodle weaving. You can start off wherever and shift around until it is all loaded up. I at some point want to weave like I would attract, but for now I instinctively go bottom to best. You can also go back again in and fill spaces if there are gaps. The fork genuinely allows to make it all tight.
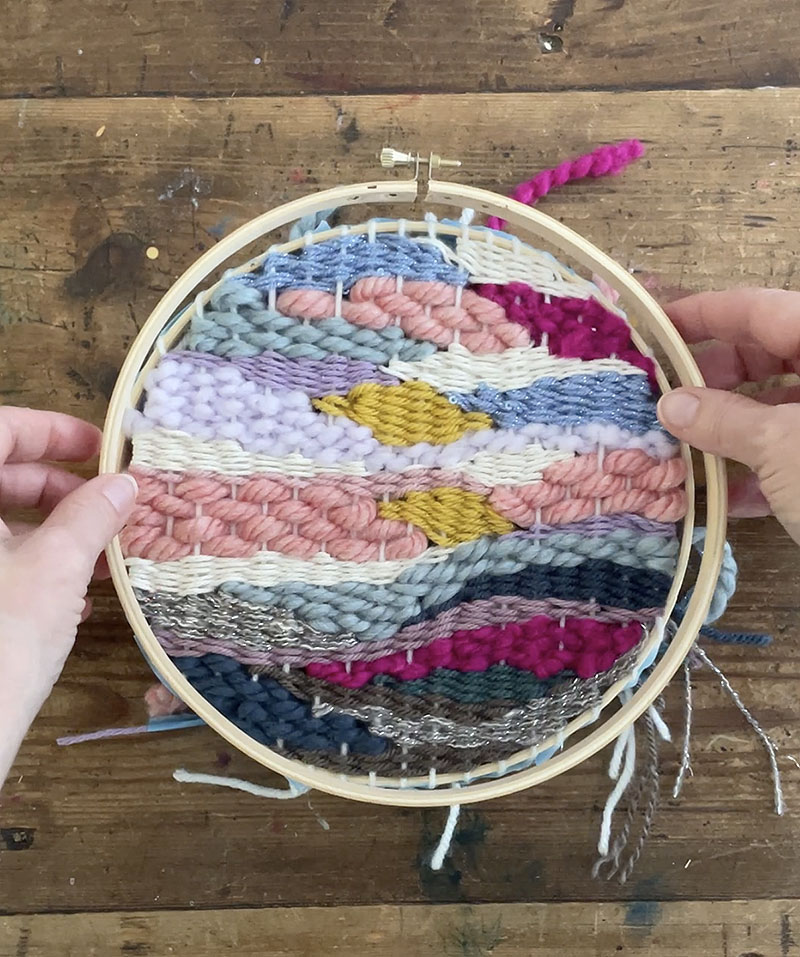
5. When finished, I pulled off the blue tape that I made use of to loosely hold the finishes, but I left the tape that holds the warp. I produced absolutely sure you couldn’t see it when placing the outer hoop more than the internal hoop. Tighten the outer hoop as limited as you can.
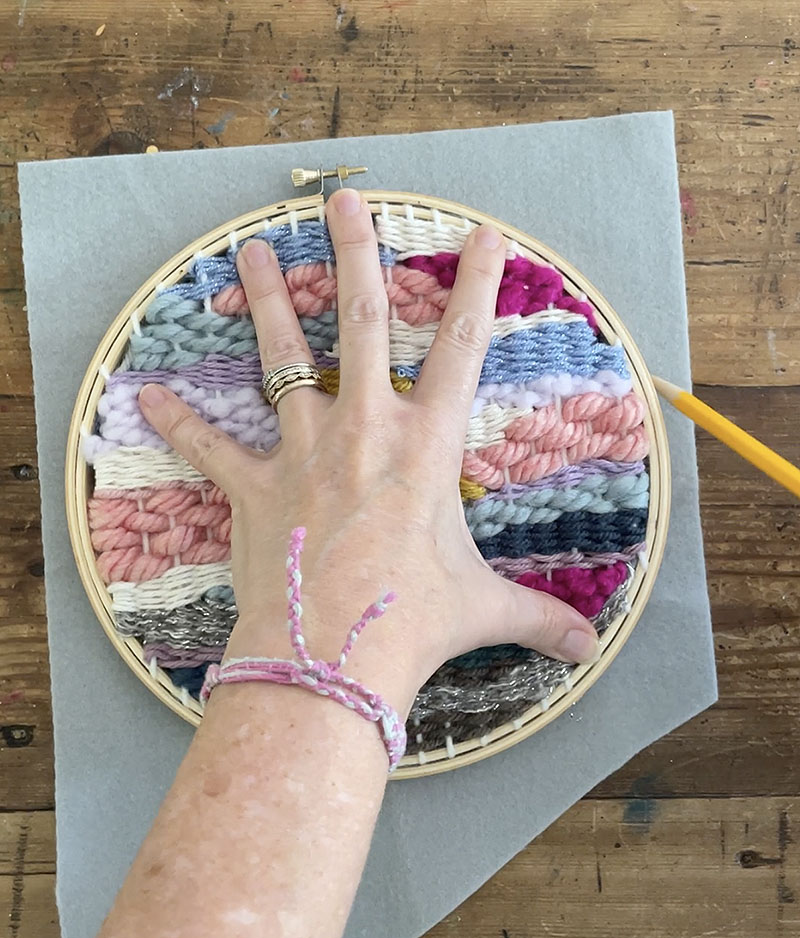
6. Trace the hoop on to a piece of felt with a pencil.

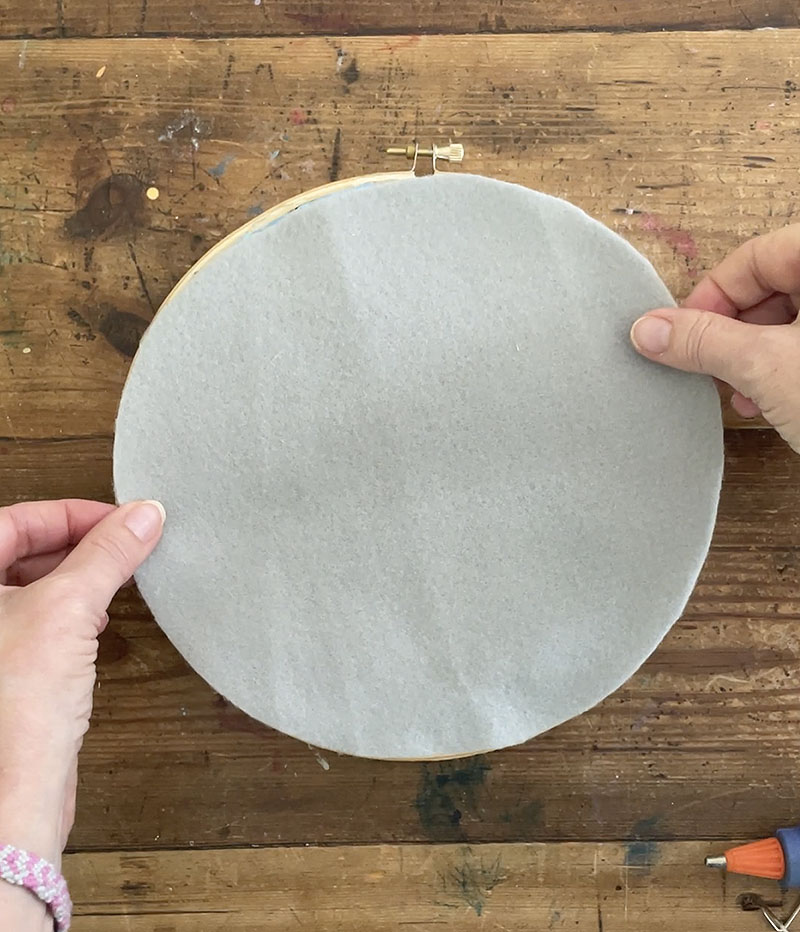
7. Scorching glue the felt to the back. This is a seriously quick way to complete the weaving so you really do not have to offer with all the ends!
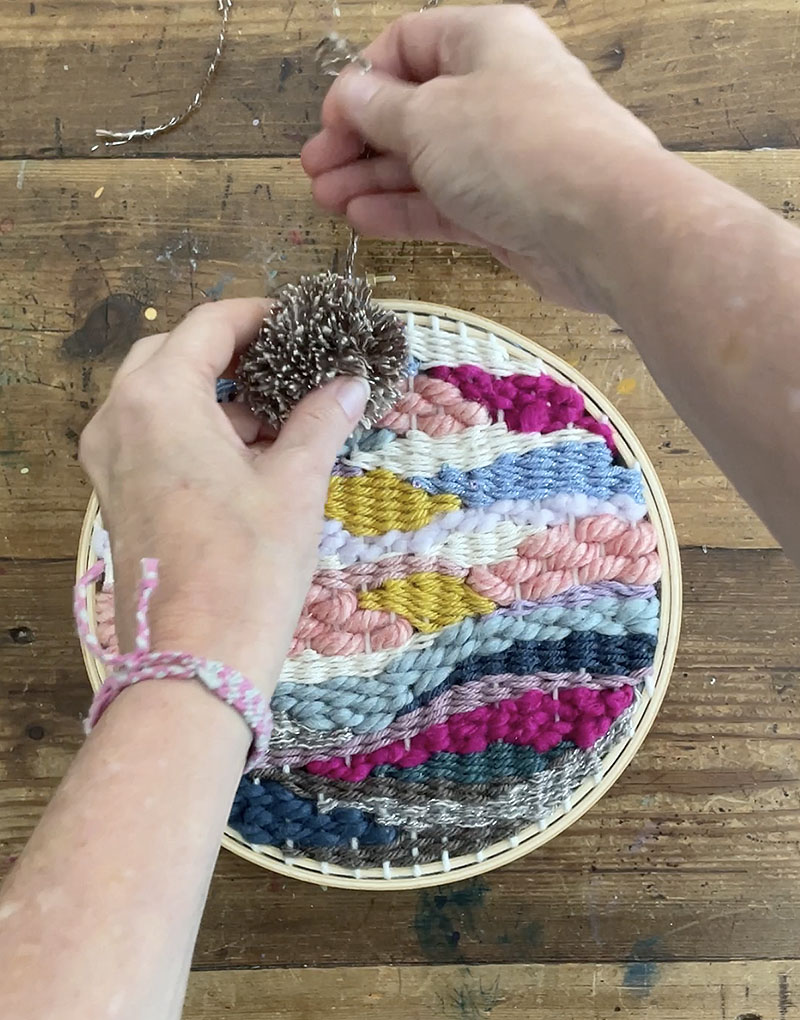
8. Make a pom-pom to go over the little knob on top of the hoop. Add a piece of wire to hang!
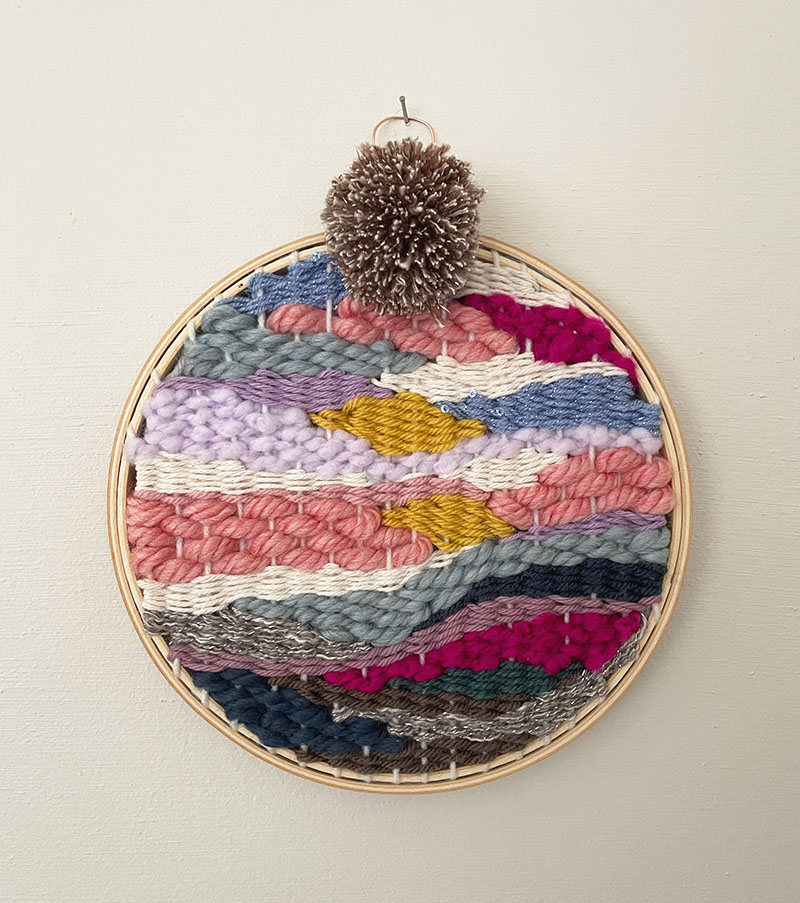
Voila! Don’t neglect to look at the video!
xo Bar
– – – – – – – – – – – – – – – – – – – –
Did you like this article? Here are additional craft strategies using yarn:
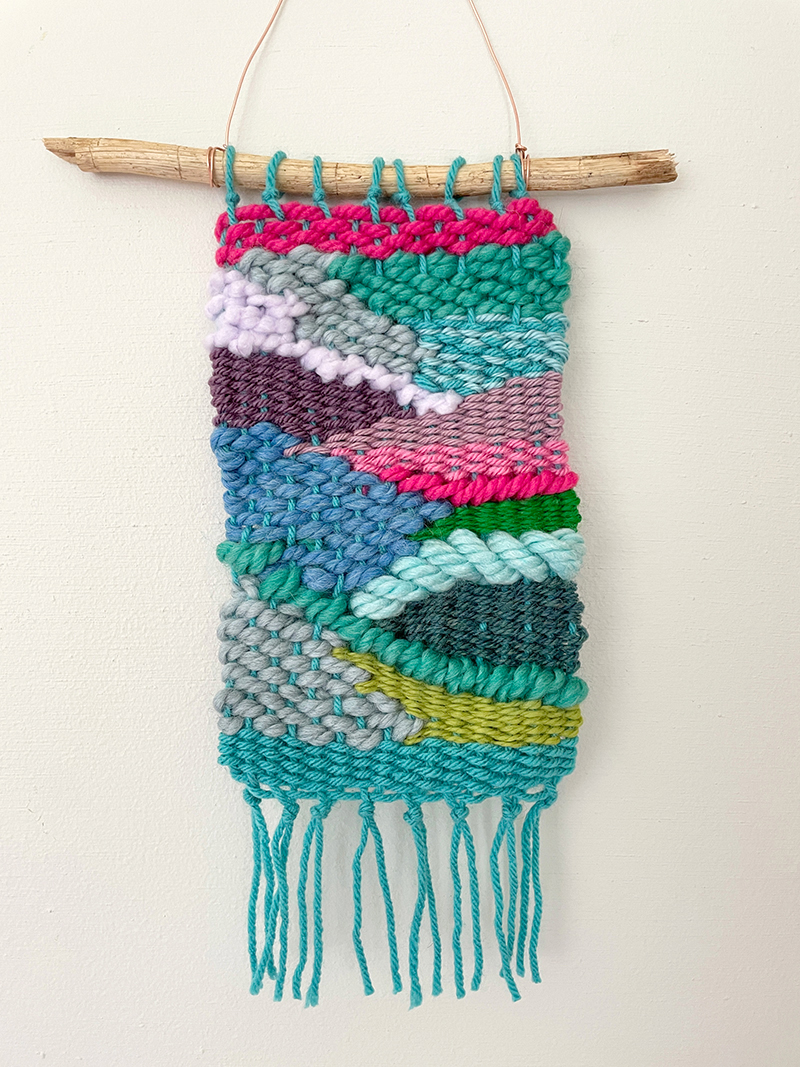
Doodle Weaving with a Cardboard Loom
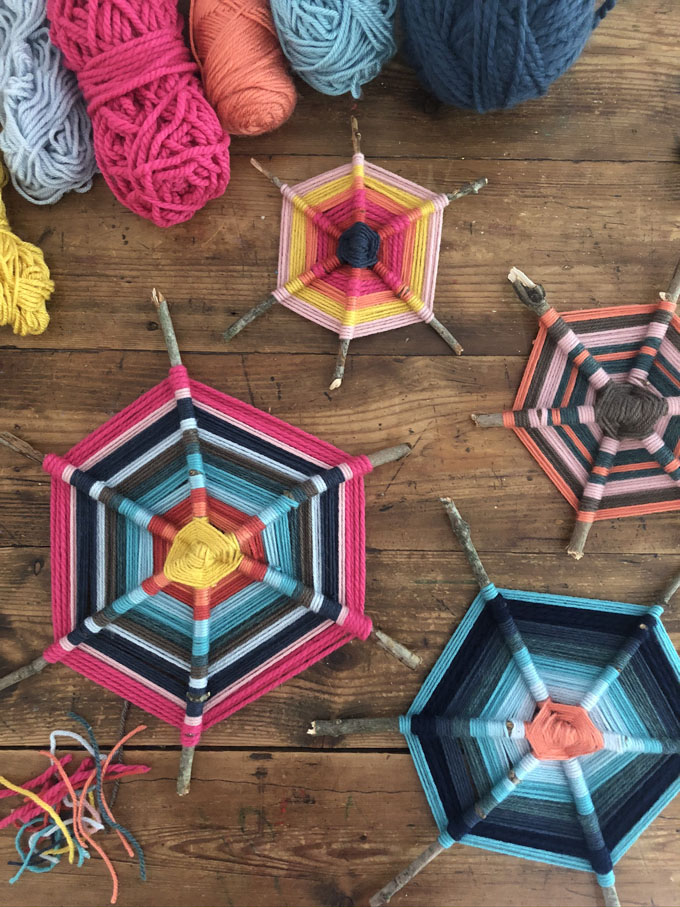
Six-Pointed God’s Eye with Sticks
Rainbow Weaving with Koolaid Dyed Yarn


More Stories
Unique Facts About Cultural Diversity of India
Art is a Reflection on Society – A Perspective
Far-Jap Artwork – Cynical Realism – An Exponent of Present-day Chinese Artistry